
DIY Air Filter Replacement: Step-by-Step Guide for Homeowners
Maintaining your home's air quality is essential for a healthy living environment, and one of the most effective ways to achieve this is by regularly replacing your air filter. A clean air filter not only improves air quality but also enhances the efficiency of your HVAC system. Performing this task yourself can be simple and cost-effective. Here's a step-by-step guide for homeowners on how to replace an air filter.
Why Replace Your Air Filter?
Replacing your air filter is crucial for several reasons. A clean filter ensures that dust, allergens, and other airborne particles are effectively trapped, preventing them from circulating throughout your home. Furthermore, a clean filter allows your HVAC system to function optimally, reducing energy consumption and potentially lowering utility bills.
Identifying the Right Air Filter
Understanding Filter Sizes
Before purchasing a new air filter, it's important to determine the correct size. Most filters have dimensions printed on the side; however, you can also measure the filter slot in your HVAC unit. Common sizes include 16x20x1, 20x25x1, and 16x25x1, but be sure to verify the size required for your specific system.
Choosing the Right Filter Type
Air filters are available in various types, such as fiberglass, pleated, and HEPA filters. Fiberglass filters are affordable and suitable for basic filtration needs, whereas pleated filters offer better dust-trapping capabilities. HEPA filters provide the highest level of filtration and are ideal for those with allergies or respiratory concerns.

Steps to Replace Your Air Filter
Turn Off Your HVAC System
Before you begin, ensure safety by turning off your HVAC system. This prevents dust and debris from being drawn into the system during the replacement process.
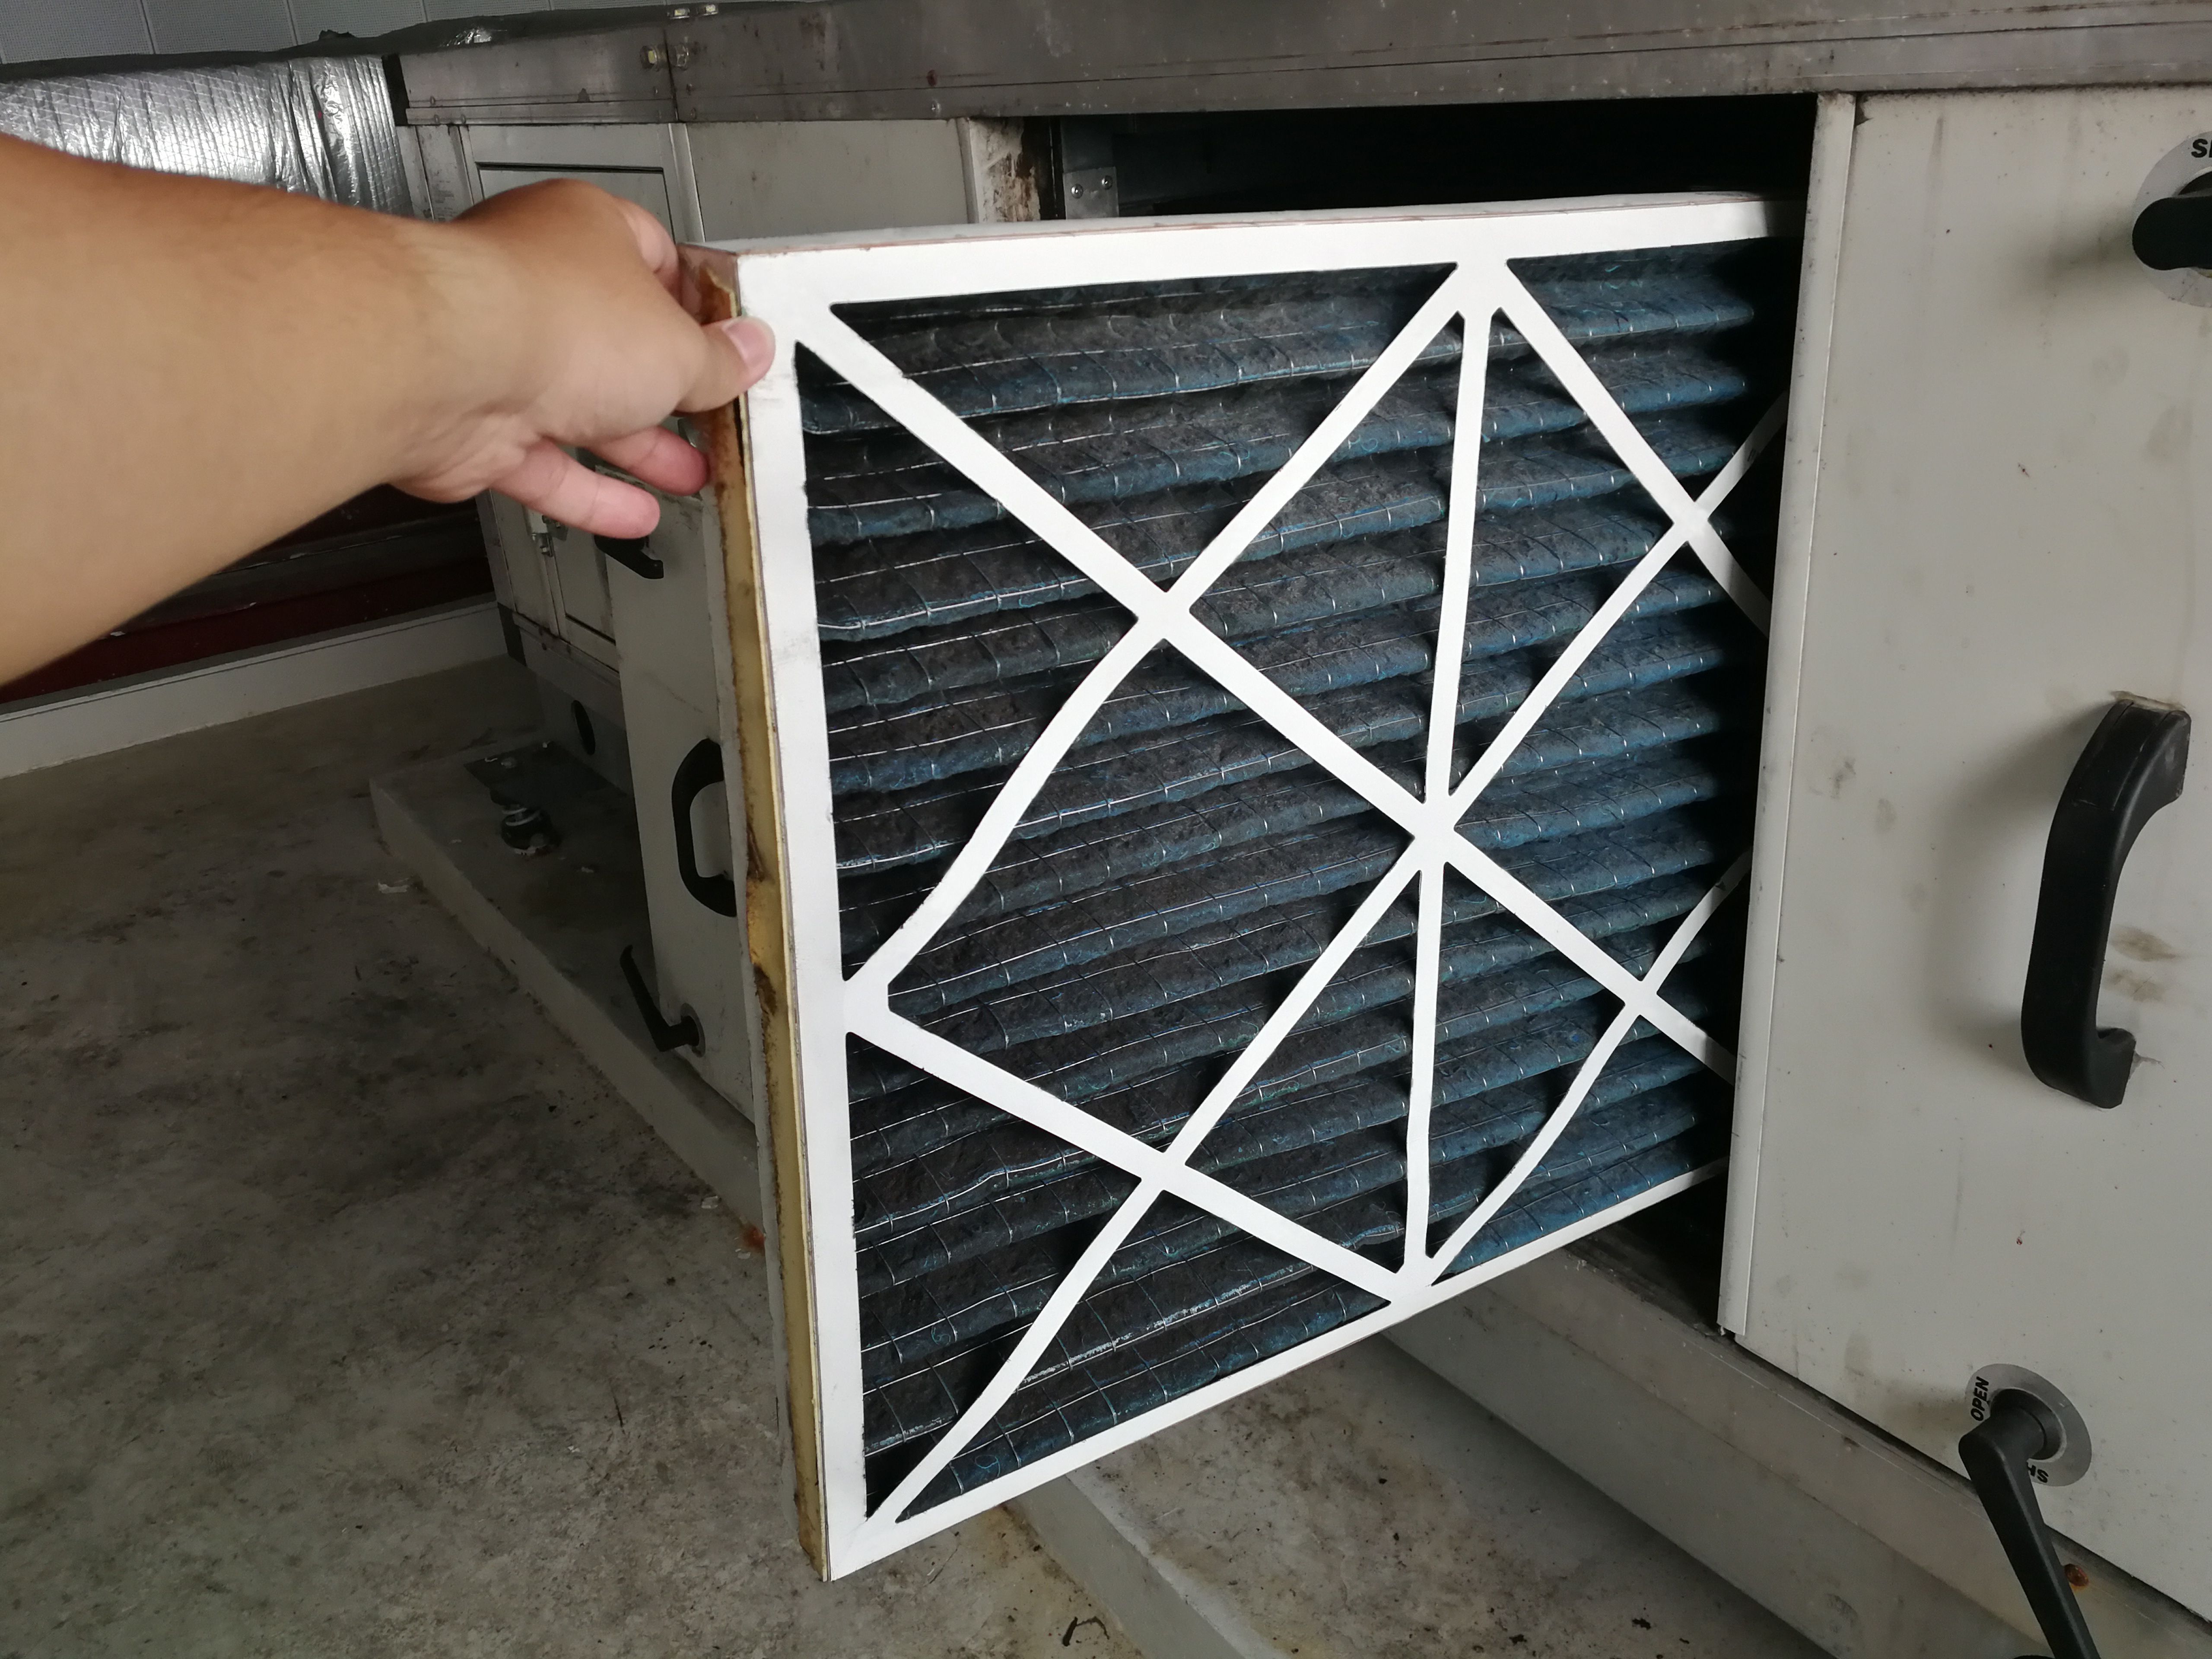
Remove the Old Filter
Locate the air filter compartment, which is usually near the return air duct or blower compartment. Open the compartment and carefully remove the old filter. Observe the direction of airflow indicated by arrows on the filter frame, as this will guide you when inserting the new filter.
Insert the New Filter
Place the new filter into the compartment, ensuring that it's aligned with the airflow direction. Confirm that it fits snugly without any gaps around the edges. Close the compartment securely once inserted.
Regular Maintenance Tips
To maintain optimal air quality and system performance, replace your air filter every 1-3 months depending on usage and environmental factors such as pets or allergy seasons. Regular inspections can help you determine if replacements are needed more frequently.
By following these simple steps, you can ensure that your home's air remains clean and healthy while keeping your HVAC system running efficiently. Regular maintenance saves money in the long run and contributes to a more comfortable living environment.