DIY Air Filter Replacement: A Step-by-Step Guide for Homeowners
Why Replace Your Air Filter?
Many homeowners overlook the importance of regularly changing their air filters, yet it's a simple task that can have a significant impact on your home's air quality and HVAC system performance. By replacing your air filter, you can improve the efficiency of your heating and cooling system, extend its lifespan, and maintain a healthier living environment.
When to Replace Your Air Filter
As a general rule of thumb, air filters should be replaced every 1 to 3 months, depending on various factors such as the type of filter used, the presence of pets, and the overall air quality in your home. If you notice reduced airflow from your vents or increased dust accumulation, it might be time for a replacement.
Factors Affecting Replacement Frequency
Several factors can influence how often you need to change your air filter. Homes with pets or residents who suffer from allergies may require more frequent changes. Additionally, if you live in an area with high air pollution or have a high-efficiency HVAC system, you might need to replace filters more often to maintain optimal performance.
Tools You'll Need
Before starting the replacement process, gather the necessary tools and materials:
- A new air filter of the correct size and type
- Screwdriver (if needed for your system)
- Vacuum cleaner or damp cloth (for cleaning the filter area)
Step-by-Step Replacement Guide
Step 1: Turn Off Your HVAC System
Safety first! Ensure your HVAC system is turned off before beginning any maintenance work. This will prevent any unwanted accidents and protect the system during the process.
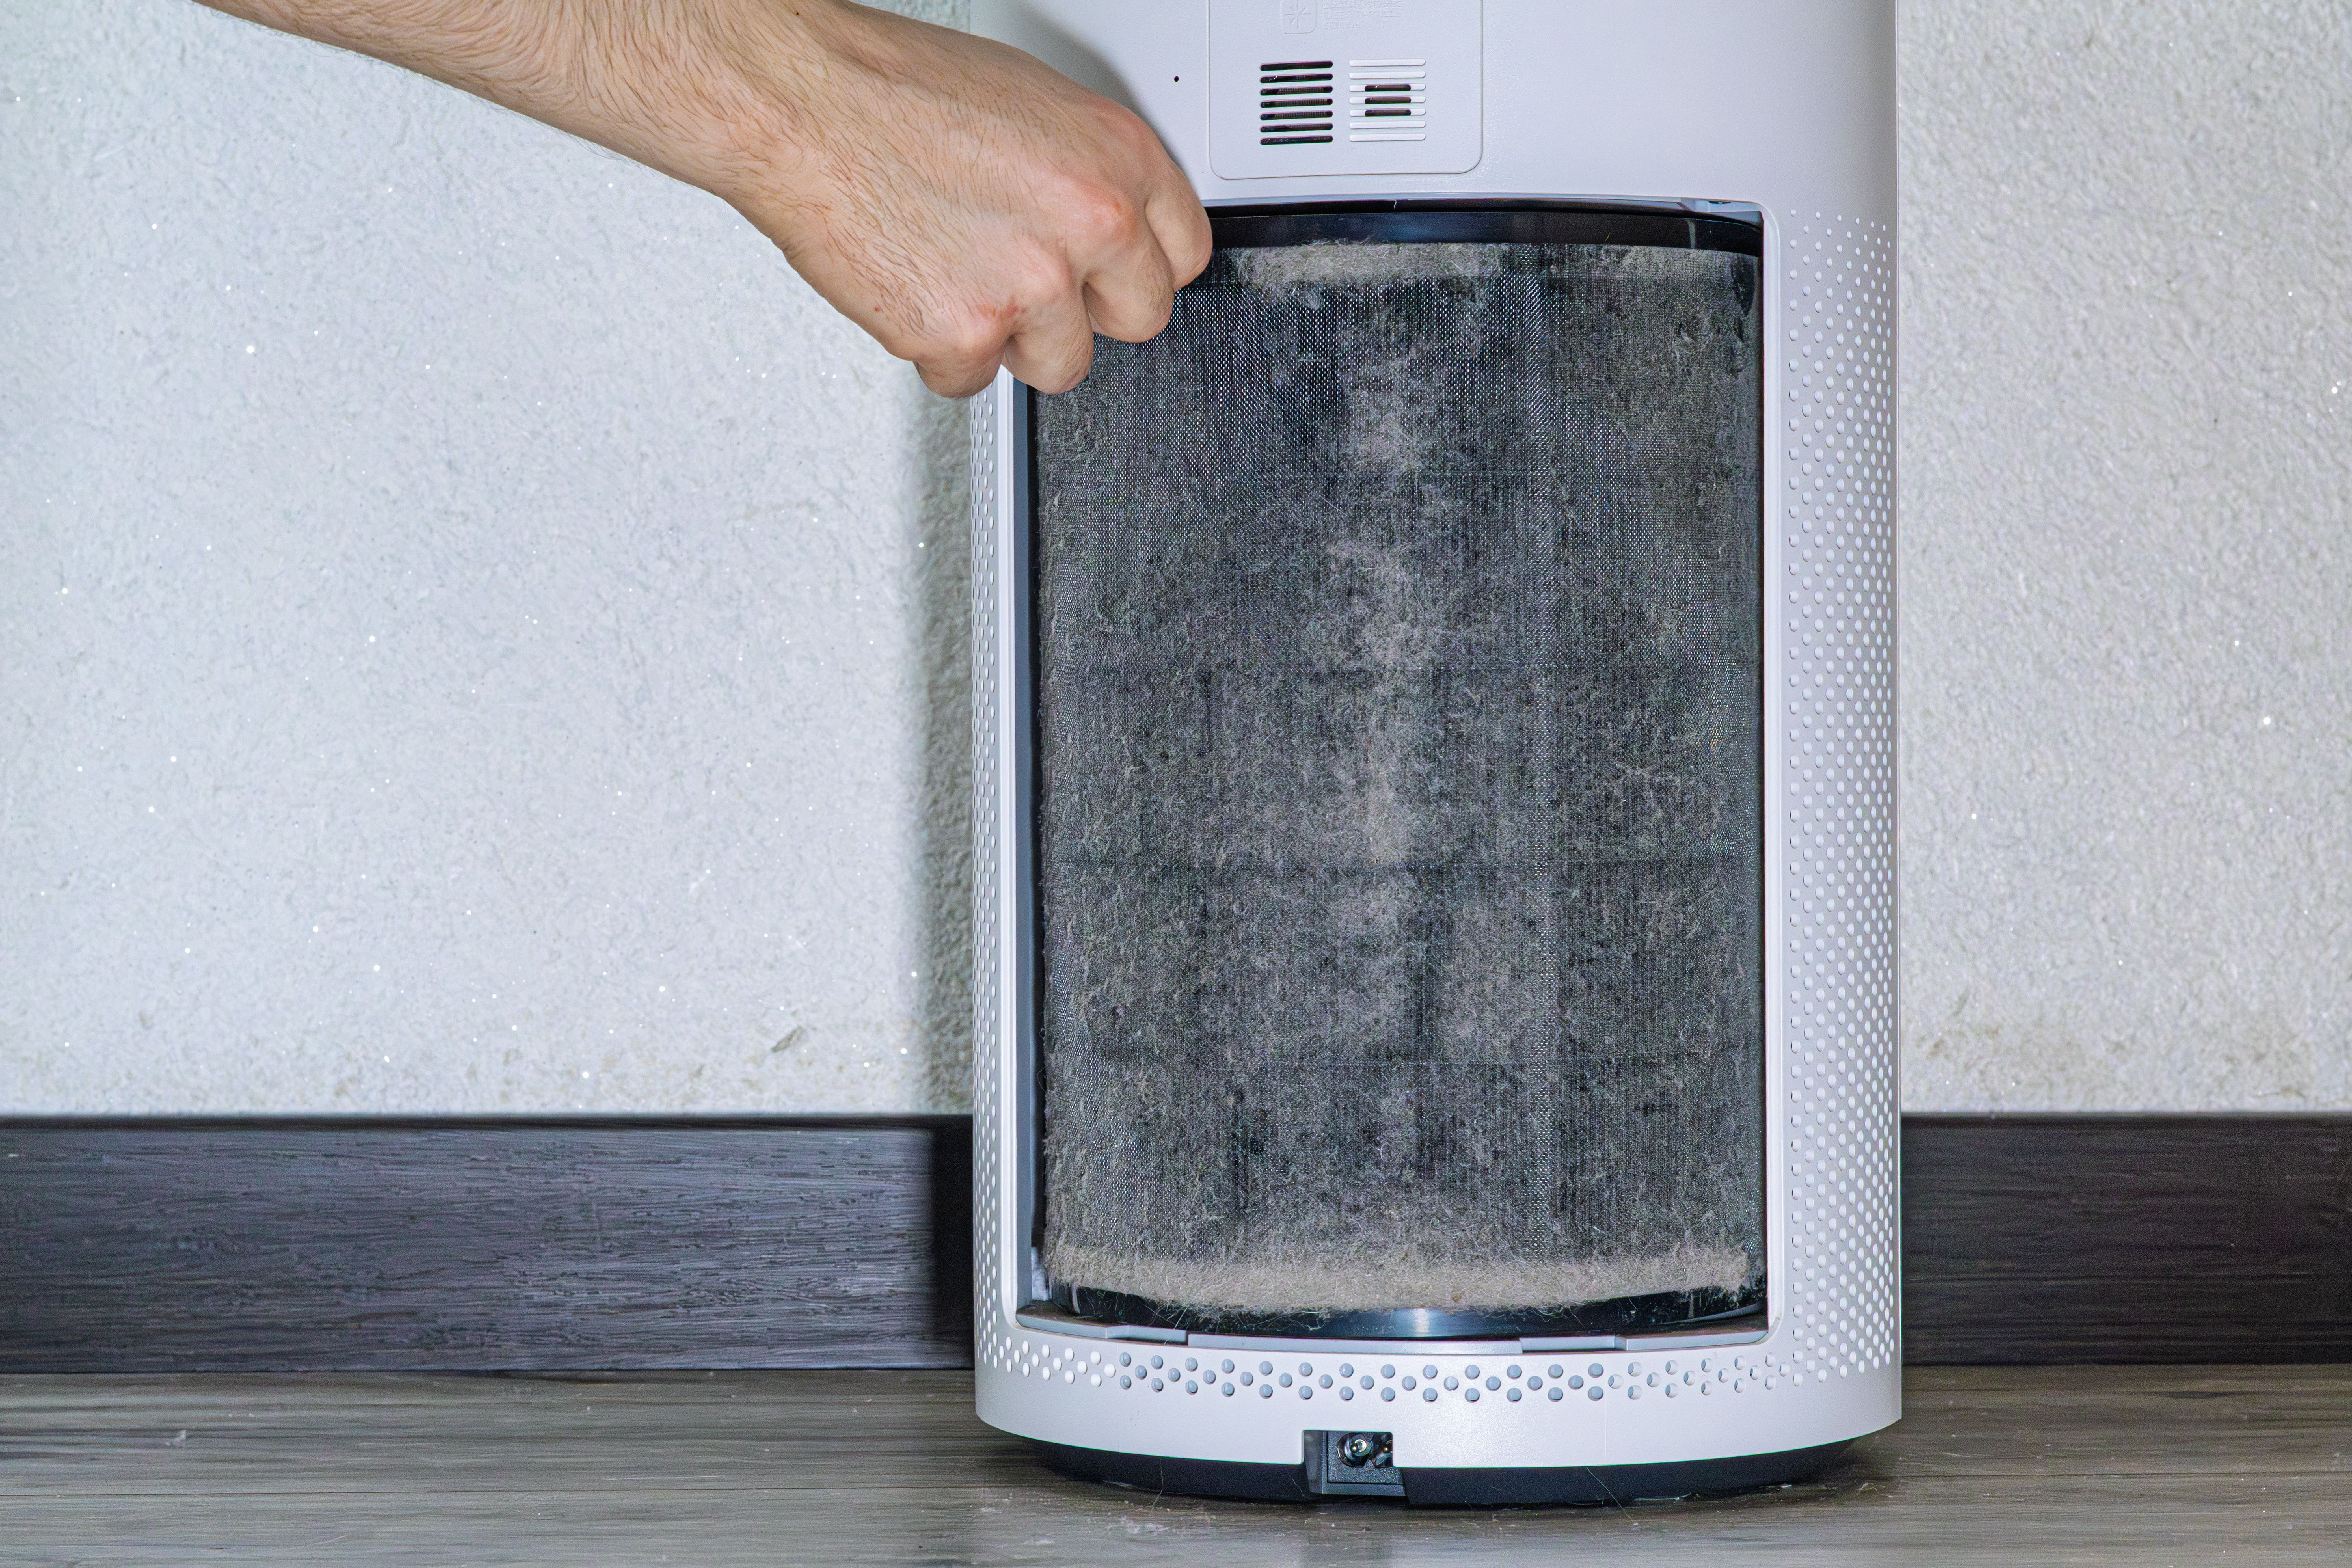
Step 2: Locate and Remove the Old Filter
Find the air filter compartment, usually located near your HVAC system's return air duct. Open the compartment using a screwdriver if necessary, and carefully slide out the old filter. Take note of its orientation, so you can correctly install the new one.
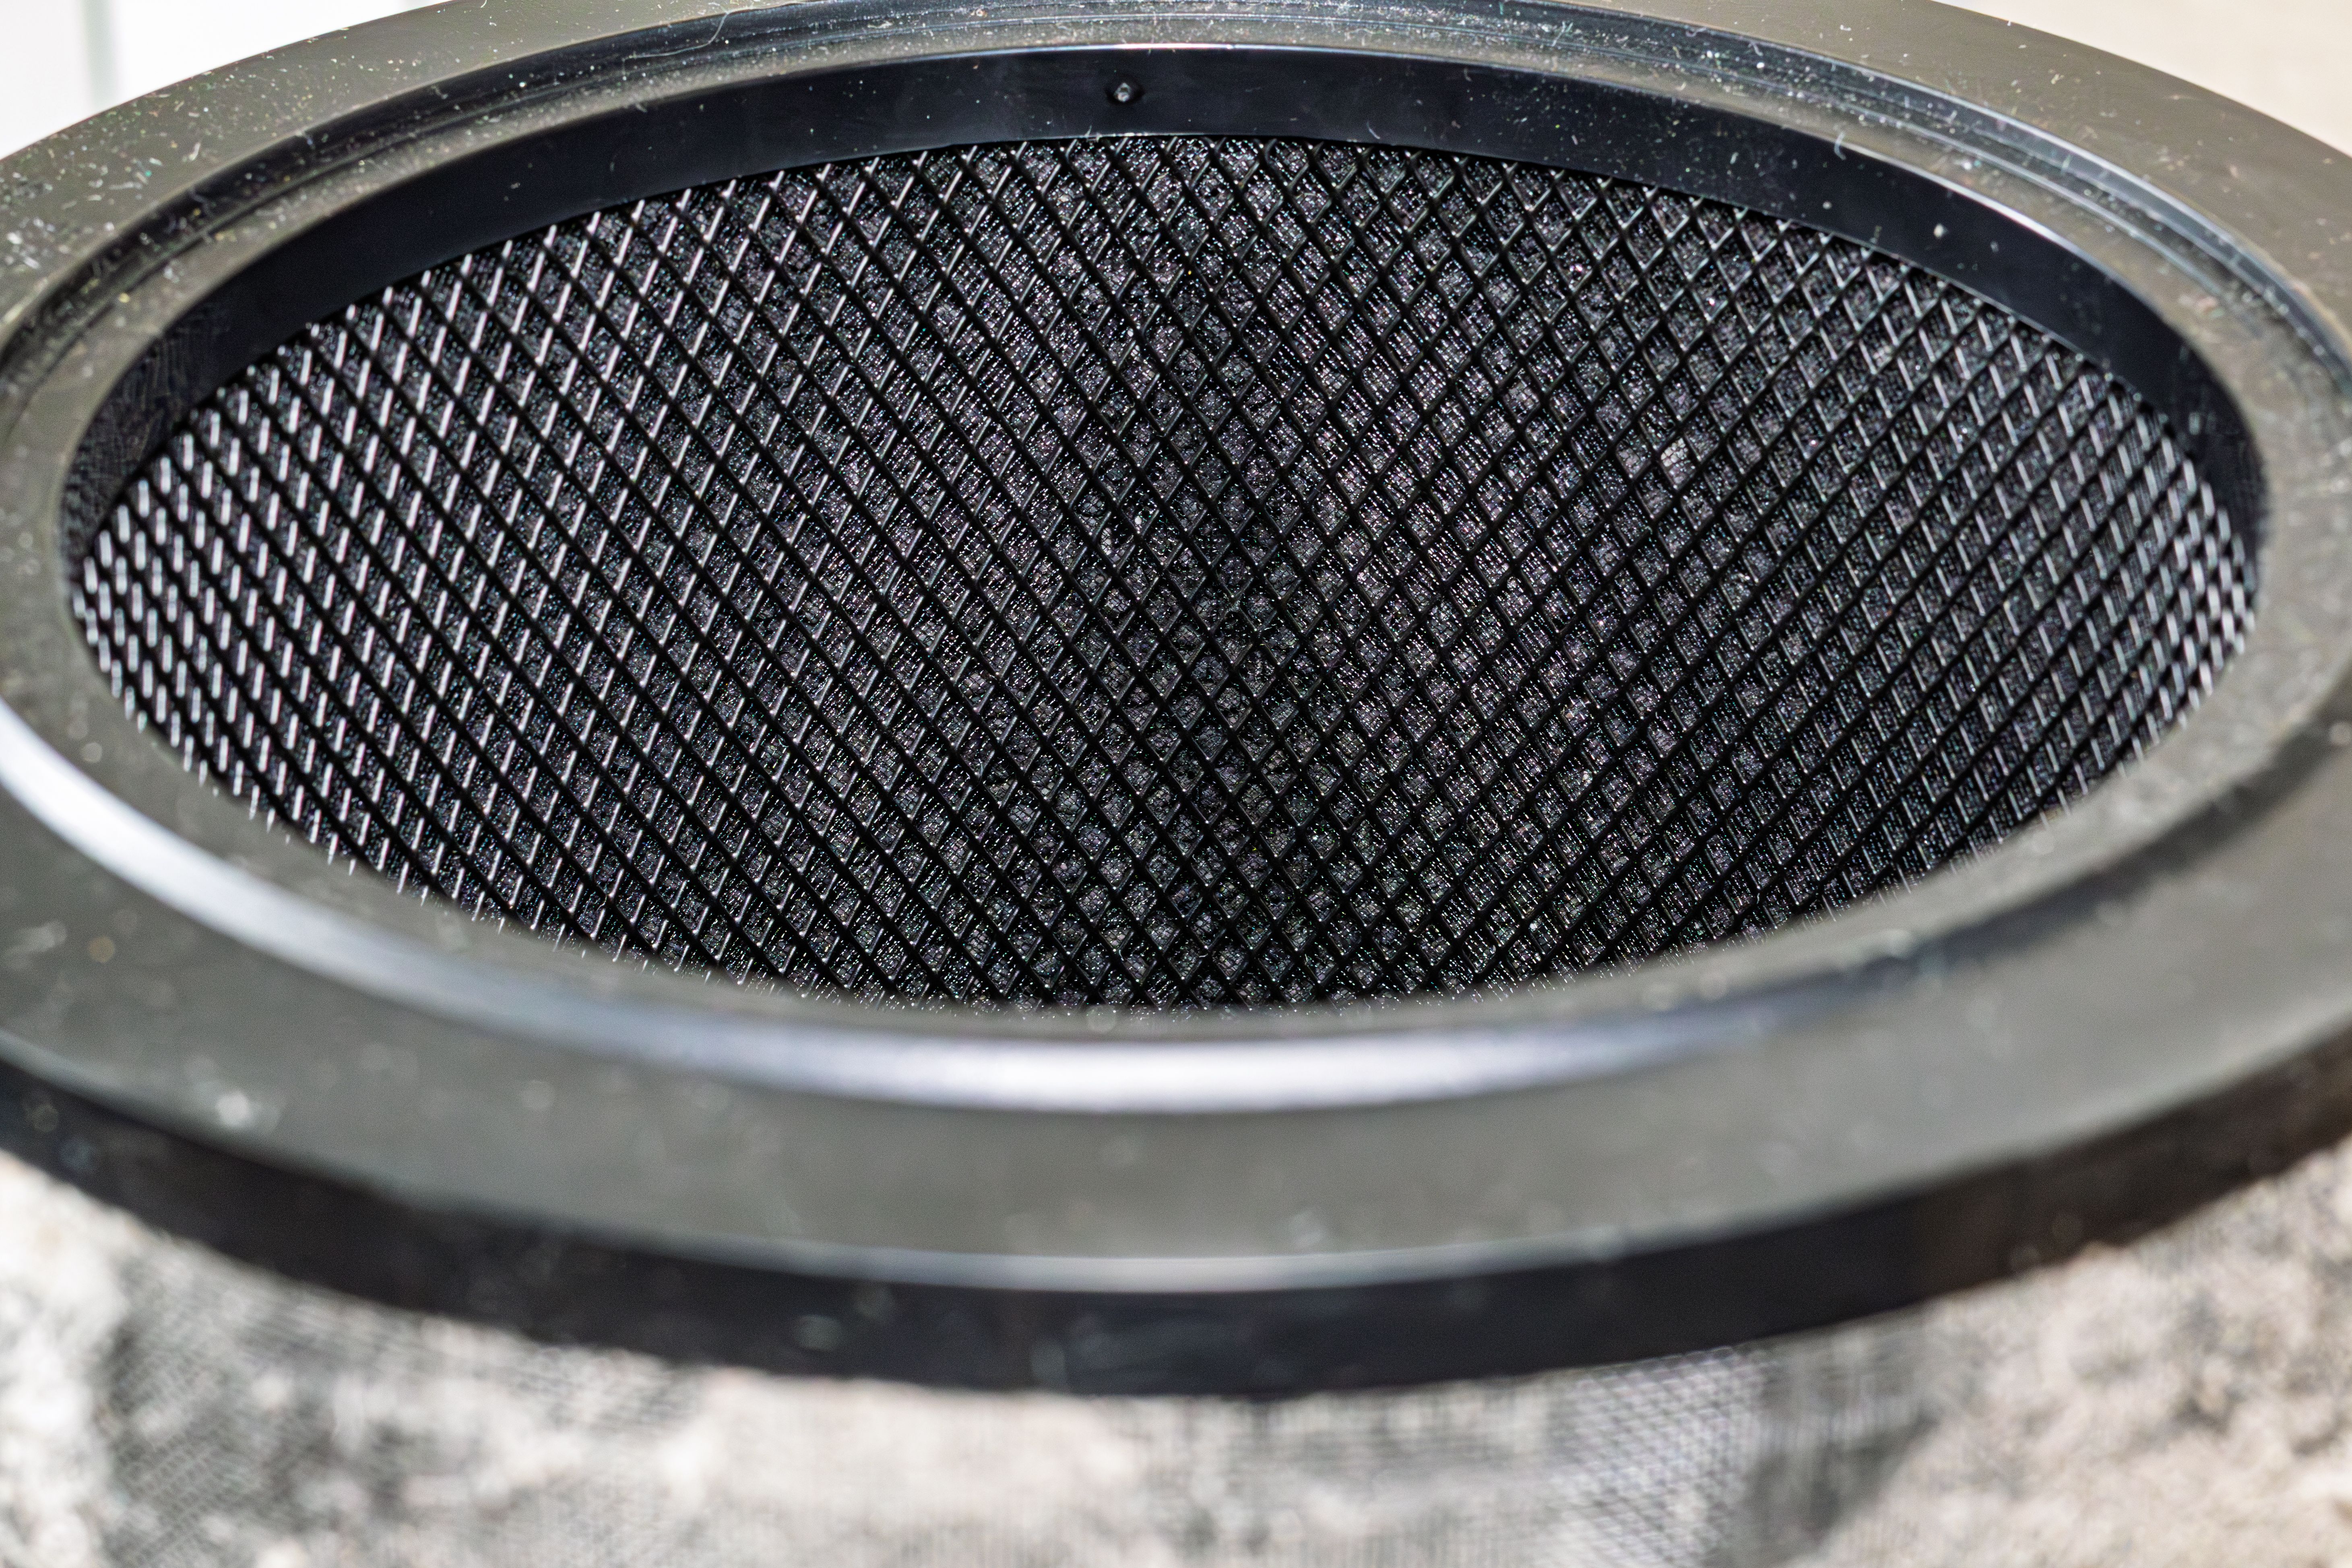
Step 3: Clean the Filter Compartment
Before inserting the new filter, use a vacuum cleaner or damp cloth to clean any dust or debris in the filter compartment. Keeping this area clean will help ensure optimal airflow and system performance.
Step 4: Install the New Filter
Insert the new filter into the compartment, ensuring it is oriented correctly according to the airflow direction indicated on its frame. Secure the compartment cover back in place.
Final Thoughts
Regular air filter replacement is a straightforward but essential task for maintaining a healthy and efficient home environment. By following this step-by-step guide, homeowners can easily manage this aspect of HVAC maintenance, leading to better air quality and improved system performance.